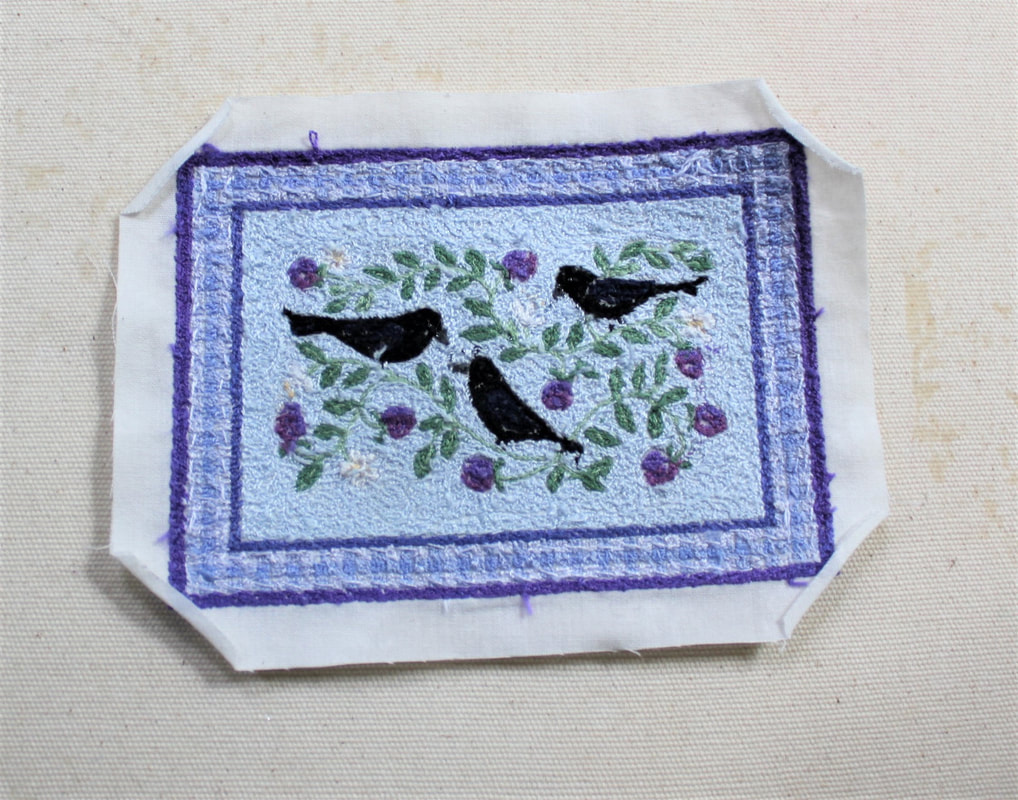
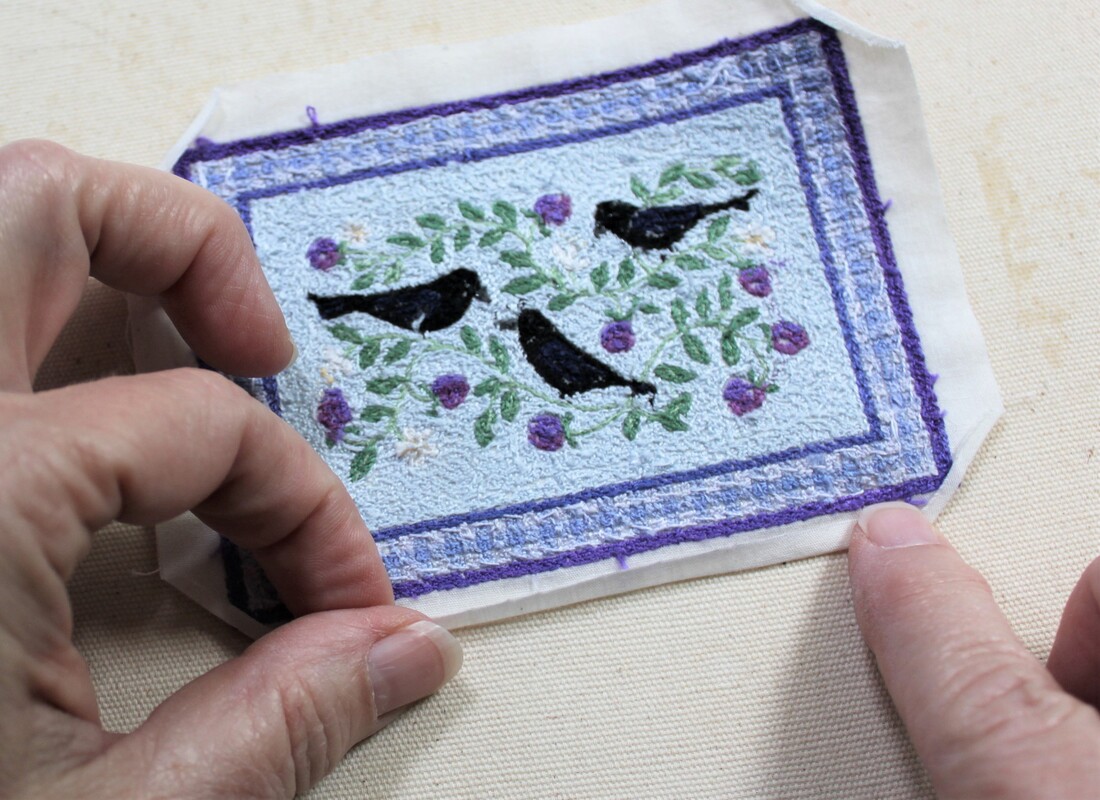
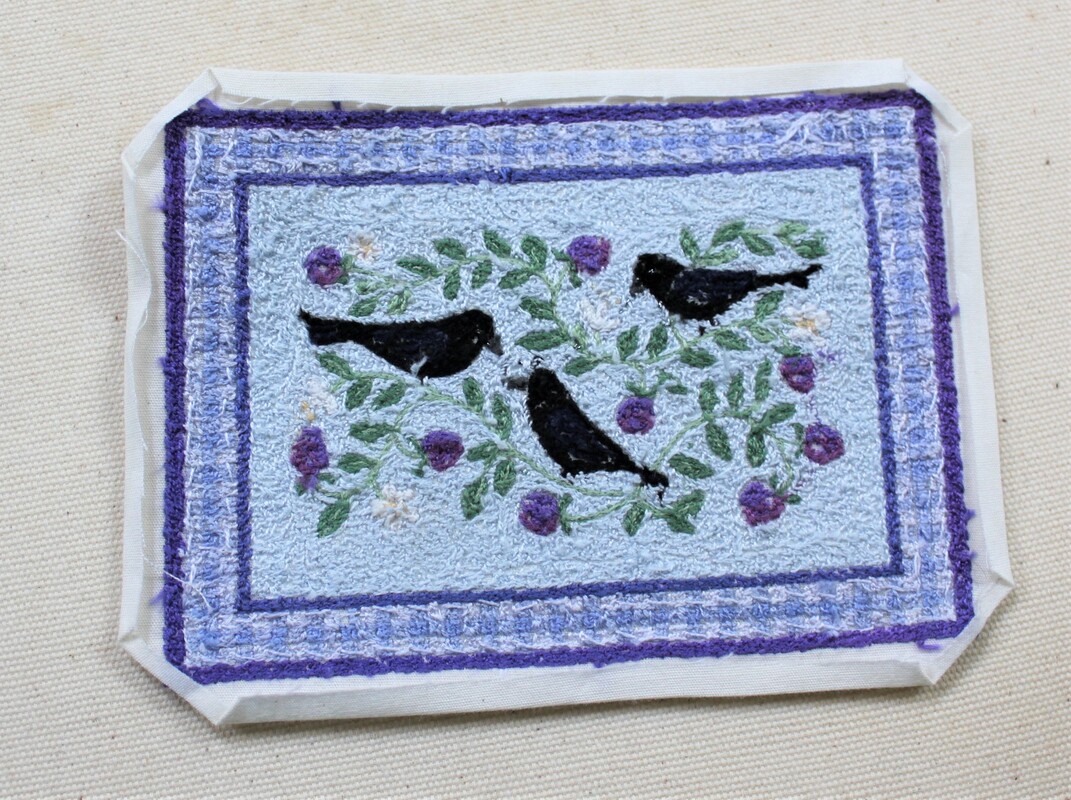
Hemming and Mitering Squares and Rectangles
|
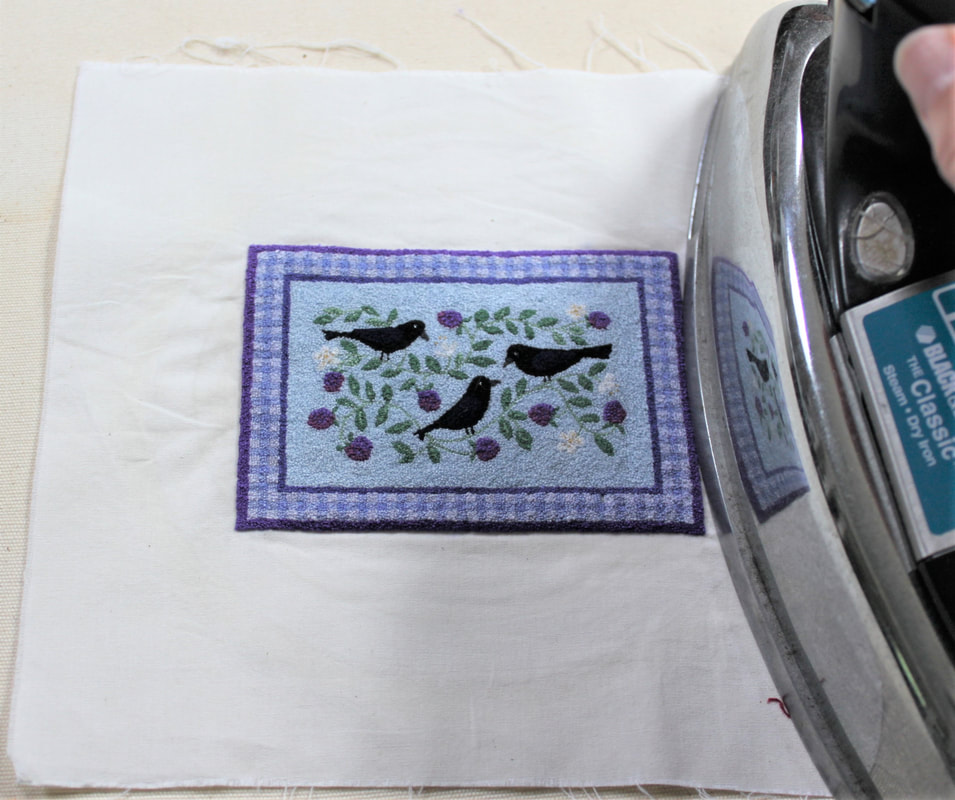
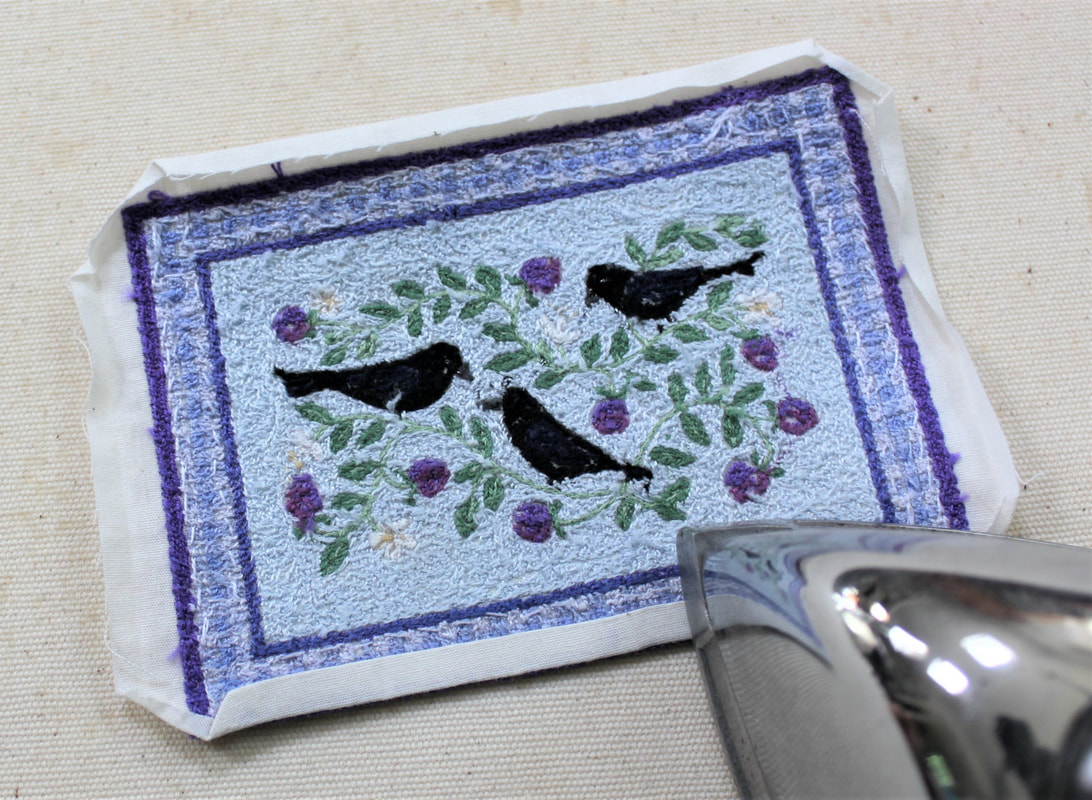
Washing and Ironing:
Hand wash your piece with a little laundry soap to remove any accumulated hand oils or dirt, rinse well, and roll it in a towel to damp dry. To begin, press the fabric around the stitched part. Do not press your knotwork piece from the front as you may flatten the knots. To press the piece itself, and to dry it after washing, place it face down on a soft towel; use very gentle pressure and let the heat do most of the work. If there are any distortions to the straight edges of your work, you can usually amend them by gently pulling at the muslin around the stitched area as you press it dry. Note: if you used any hand-dyed or over-dyed threads (some of my kits have these), remember they may not be colorfast, particularly the darker colors. These threads may bleed if they get wet, even from a spritzer bottle used for ironing. So, if you didn't wash them before using them, it may be wise to NOT wash your finished piece. You may also want to put a note with it stating this for future generations. |
|
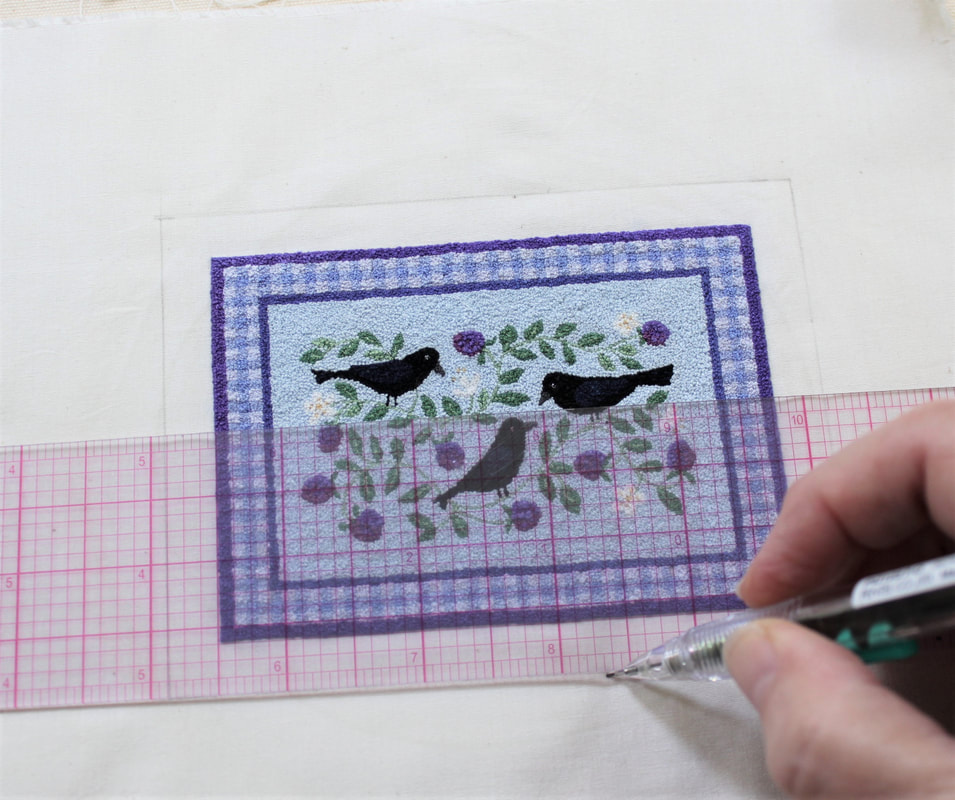
Preparing the Hem: 1. Draw a cutting line around the design, 3/8˝ from the edge of the stitched area. This can be done on either the front or back - the lines will not show. |
|
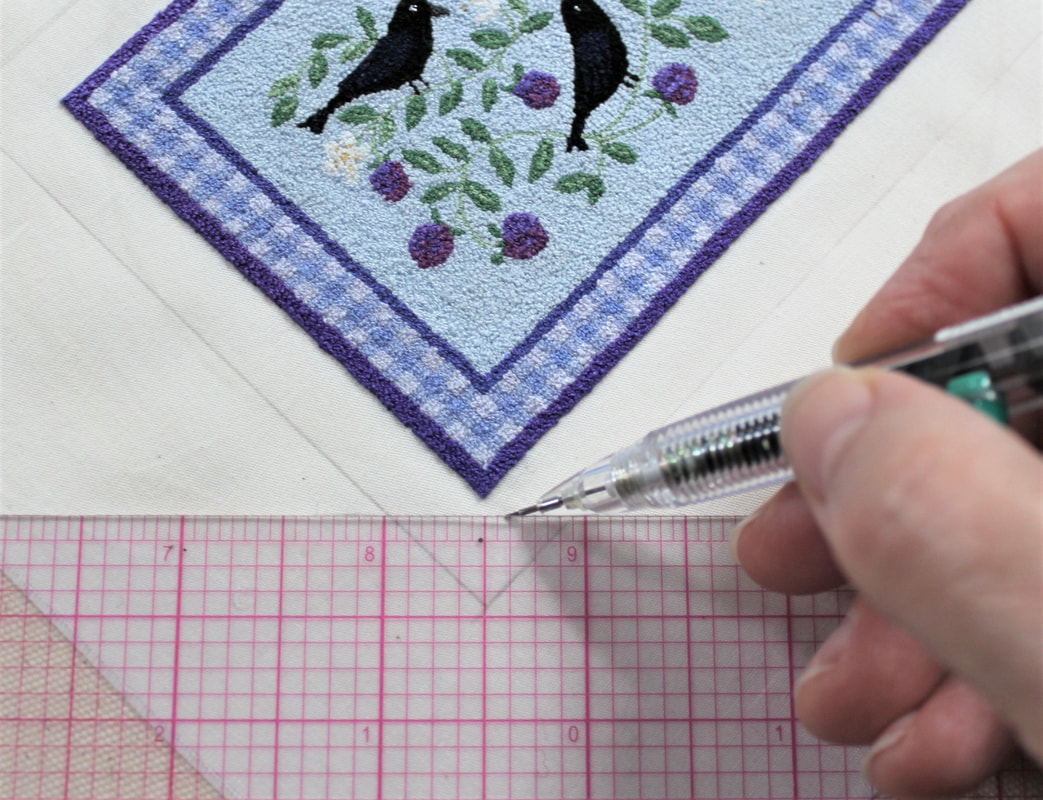
2. Leaving a gap of 1/8" from the last stitch of the corner of the stitched design, draw a 45-degree angle line across each corner. |
|
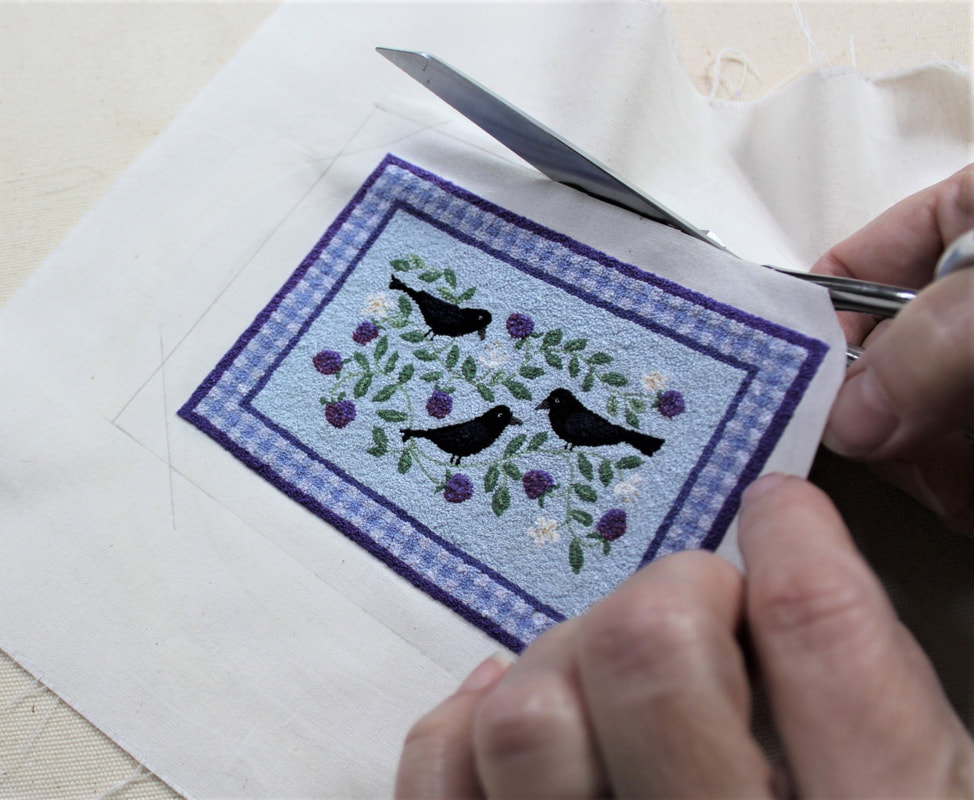
3. When all the lines are drawn (4 sides and 4 corners) cut out the piece on these lines. |

|
4. Fold each 1/8˝ diagonal corner allowance evenly inward towards the back (wrong side) of your piece, making sure you can just see the last corner stitch of your french knots peeking out. Finger-press to crease. Iron in place when you are sure it's folded evenly. Being precise now makes it easier later. |
|
5 .All four corners folded to the back and pressed. |
|
6. Now fold one side of the 3/8" hemming allowance in half, lengthwise, to the back side of your piece, so the cut edge is just shy of meeting the outer edges of your embroidery stitches. The corner folds need to stay in place as you do this. Press in place. Repeat for each of the four sides. |
|
7. All four sides folded and pressed in place. |
|
8. Fold the hemming allowance again - this time so the muslin is completely folded to the back, and the french knot edges are just visible on the back edge, and no muslin is visible on from the front. Here again, keep the corners neatly folded as you press the long sides in place, and the corners will miter. |
|
9. This is how the corners look when two adjacent sides are folded. You can still see that little diagonal corner fold between the two sides. That will get taken care of when you stitch the corners. |
|
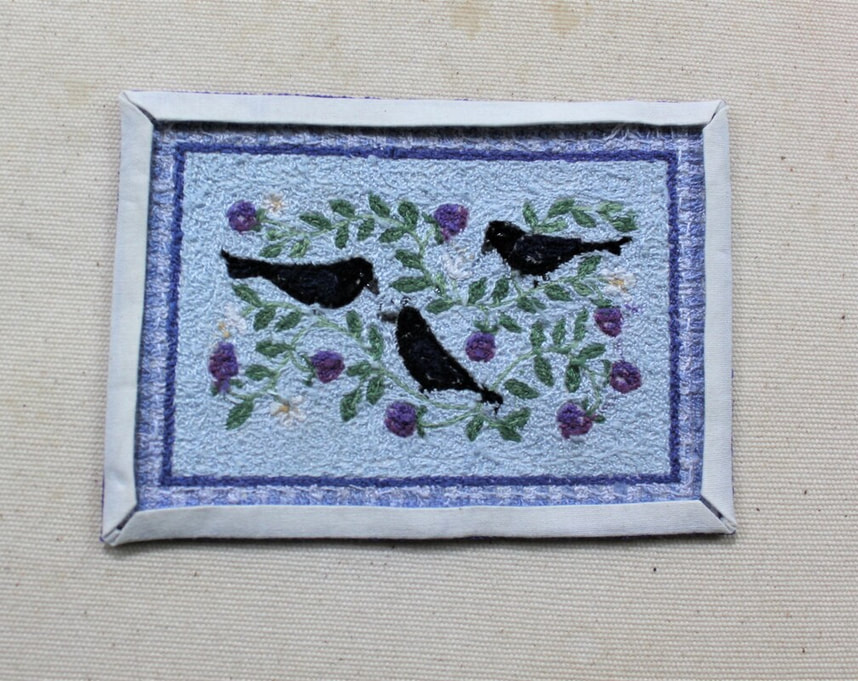
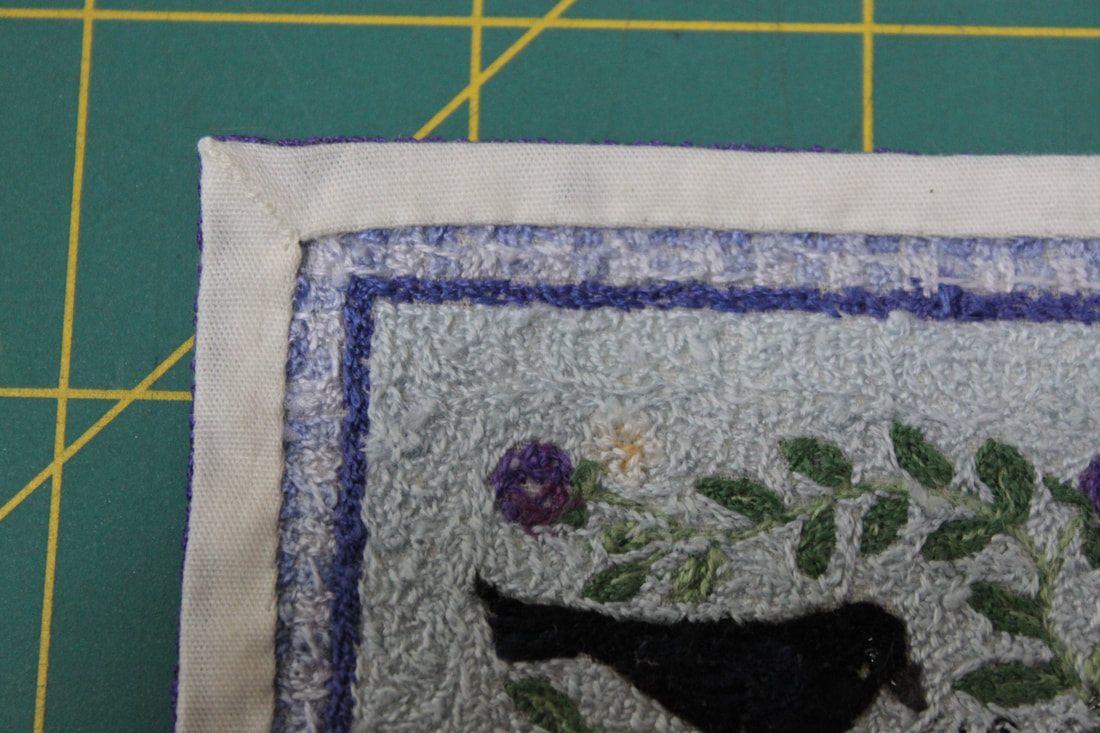
10. All four sides folded in, corners mitered and ready to stitch the hem. |

|
Stitching the Hem
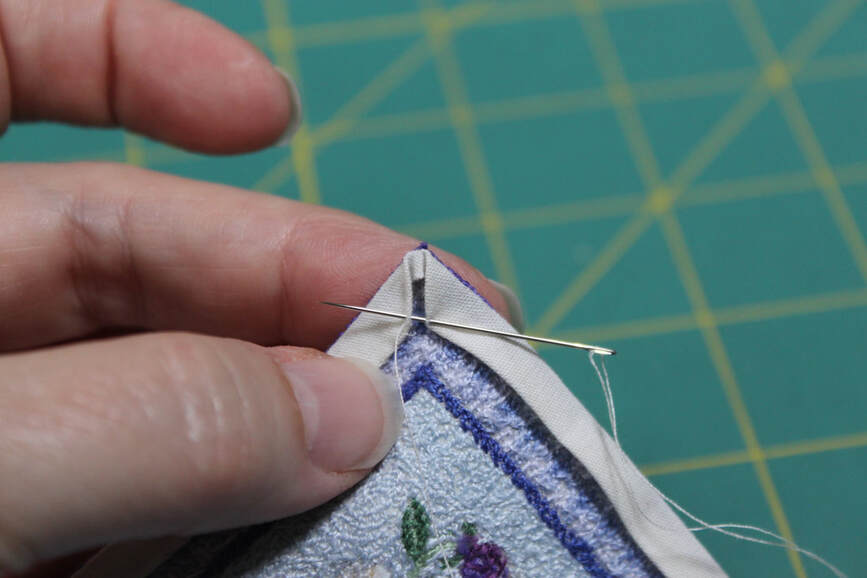
1. Bring the hemming thread in through the hem fold. This hides the knot in the thread nicely and makes it ready for stitching. |

|
2. The hemming stitches are about 1/8" long. Each one must travel under a few of the embroidery threads on the back of your work, and then you will pick up a couple of threads of muslin from the hem fold. Pull them in snugly, but not tight. Work the length of one side of the hem this way, then we'll do a mitered corner. |
|
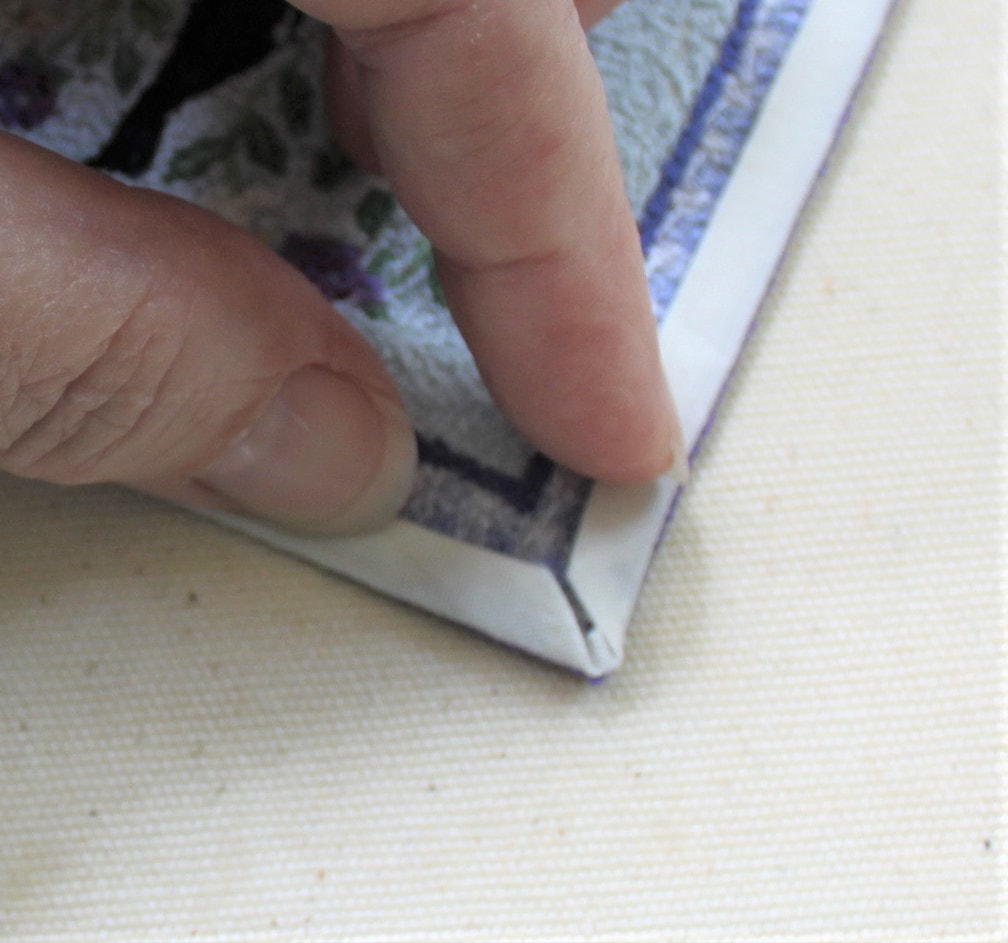
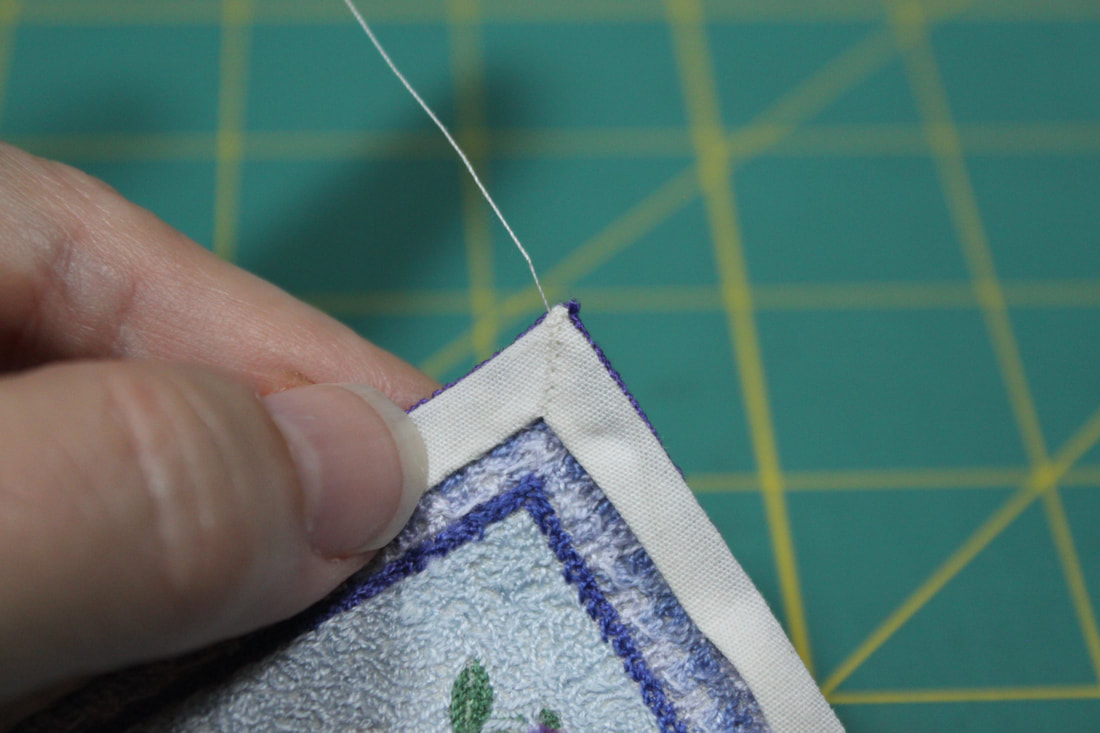
3. When you come to the corner, you will need to join the two sides of the miter. Take a tiny stitch on each side of the miter to bring the inner points together. Then, work more of the same tiny stitches (about 1/32" apart) out to the corner of the piece, to bring both edges of the miter together. NOTE: if it appears that one side of your miter is a little bit longer than the other, simply take a stitch on the longer side just a tiny bit farther along that side while keeping the stitches on the other side the same distance apart. By doing this in tiny increments you can make adjustments for imperfect folds and still make lovely miters. |
|
4. When you get to where the diagonal corner fold is peeking out, just stitch the sides of the miter together and that little bit of fabric will disappear into the miter. Just avoid sewing into it, so it doesn't become part of the seam. |
|
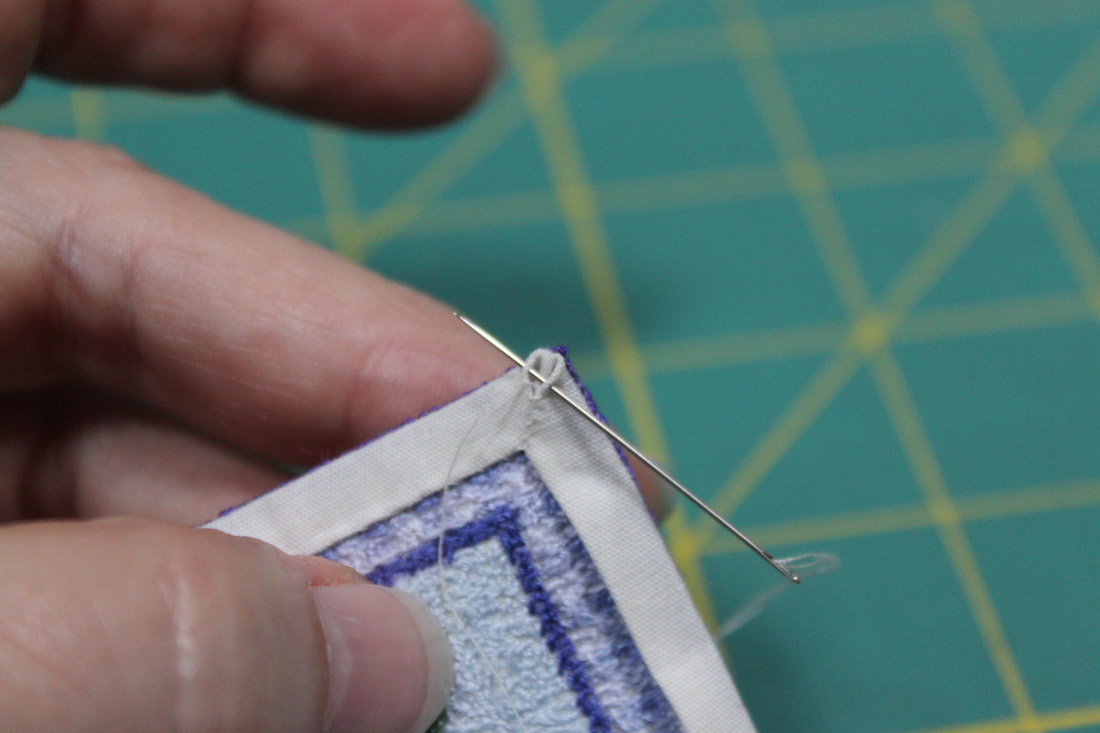
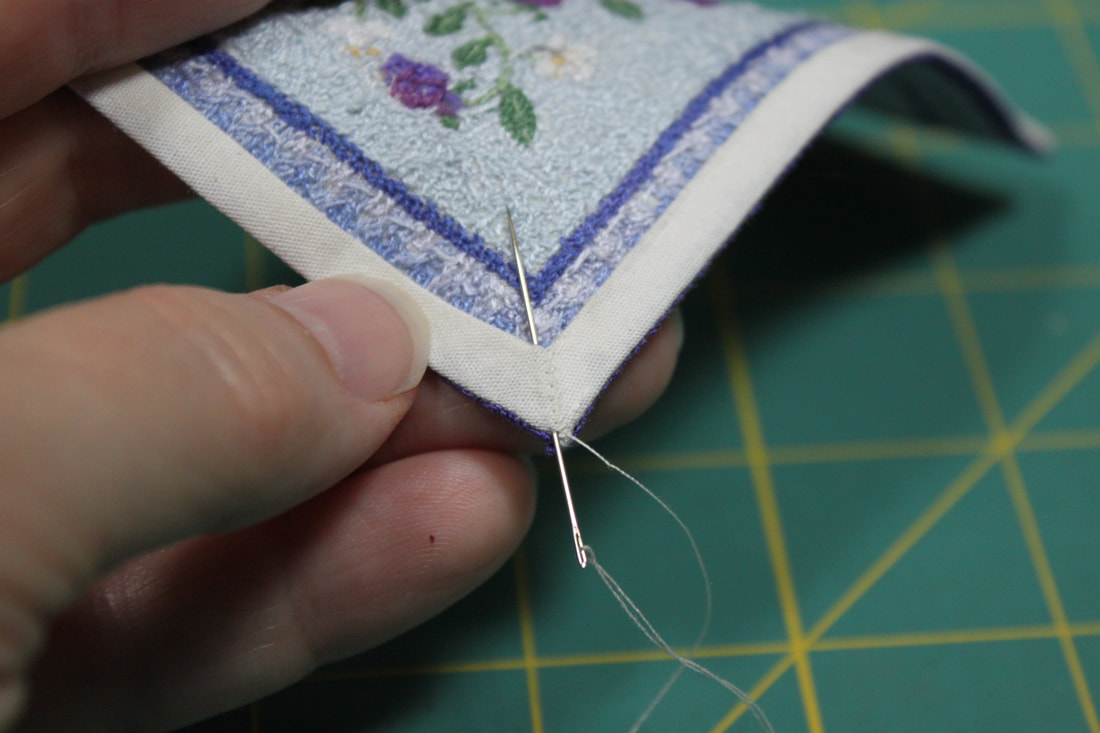
5. Close the miter right to the very corner. Perfect!! |
|
6. Now you can push the needle through the muslin corner to come out back on the folded edge of the hem. |
|
7. Continue hemming the edges and sewing the miters as you come to them. When you come around to your starting point, tie off your thread and Ta Dah! You've finished!! |